Turn an object image into a printable 3D model
Upload a clear image of a single object. Generate a 3D model, inspect it in your browser, then export it for your slicer.
No 3D modelling skills required.
Drop an object image here
JPG, PNG, WEBP — 10 MB max
For best results: use one clearly visible object, centered in the image, with a simple background.
Recommended
- Single object, clearly visible
- Full object in frame
- Simple or contrasting background
- Sharp, well-lit image
Avoid
- Blurry or dark images
- Cropped or partially hidden object
- Multiple objects
- Busy or cluttered background
From image to printable object
See what's possible. Each result was generated from a single image.
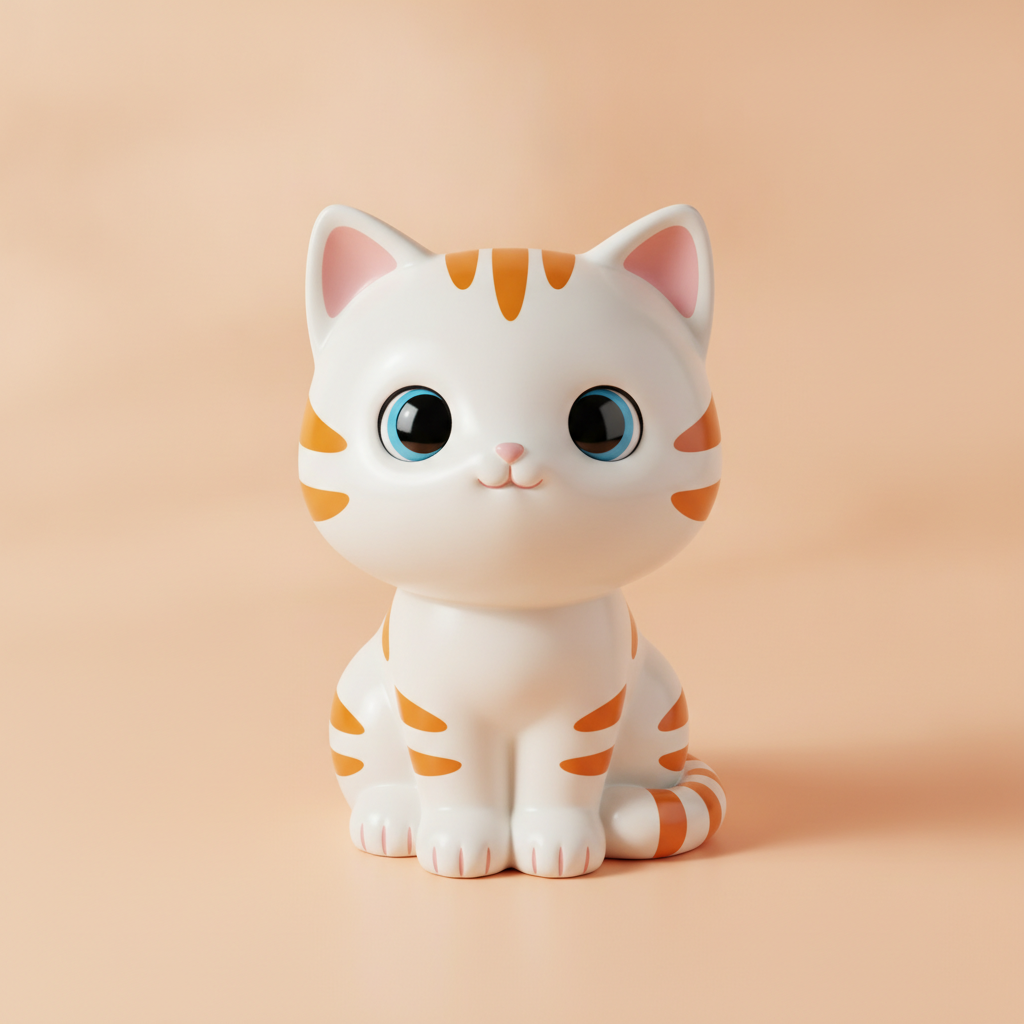 Input
Input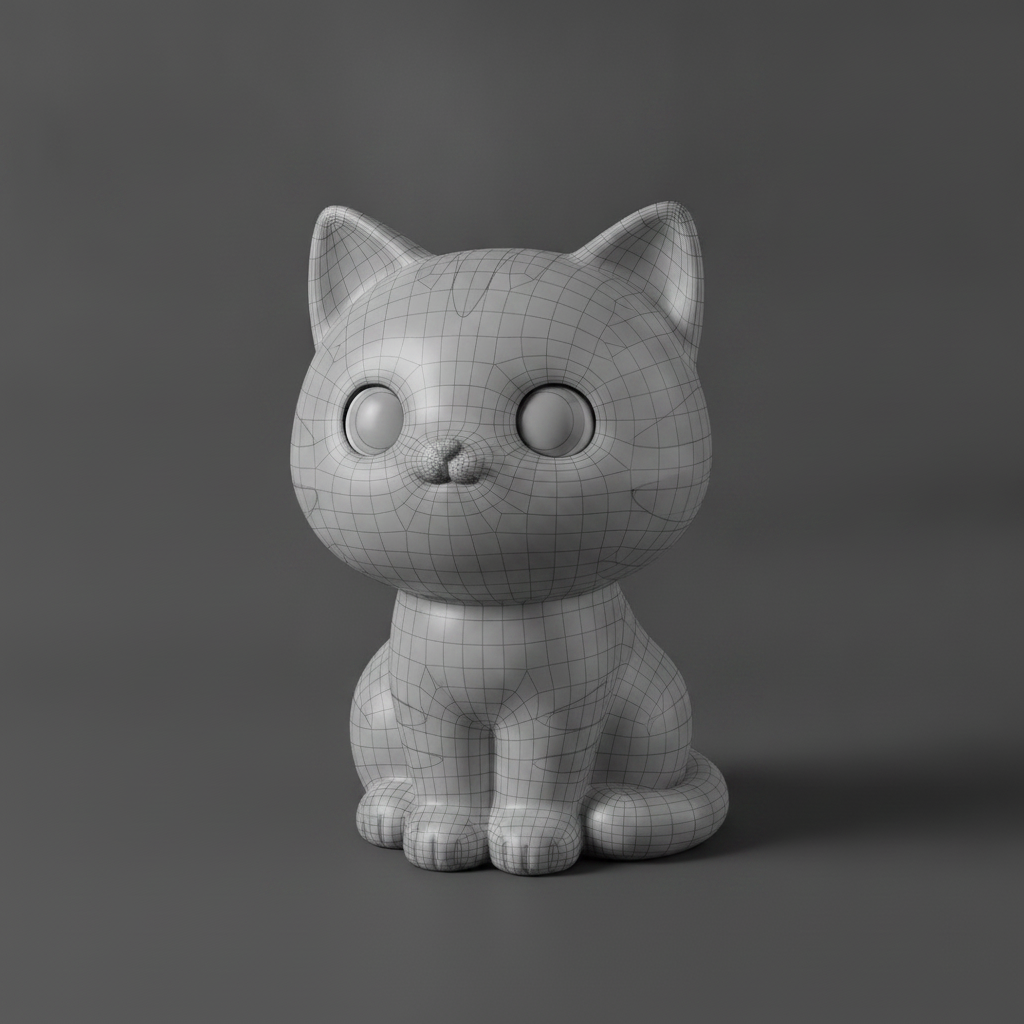 3D
3DSimple figurine
Image → 3D model
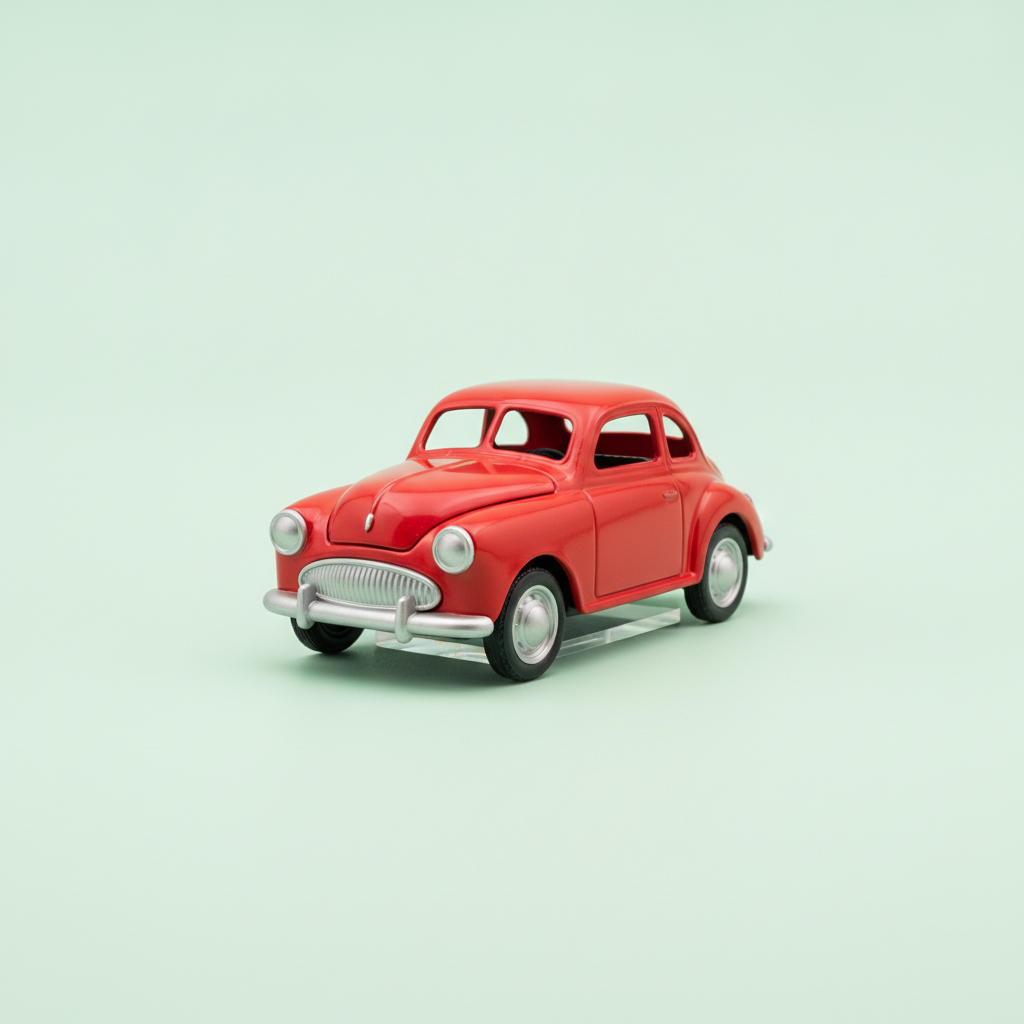 Input
Input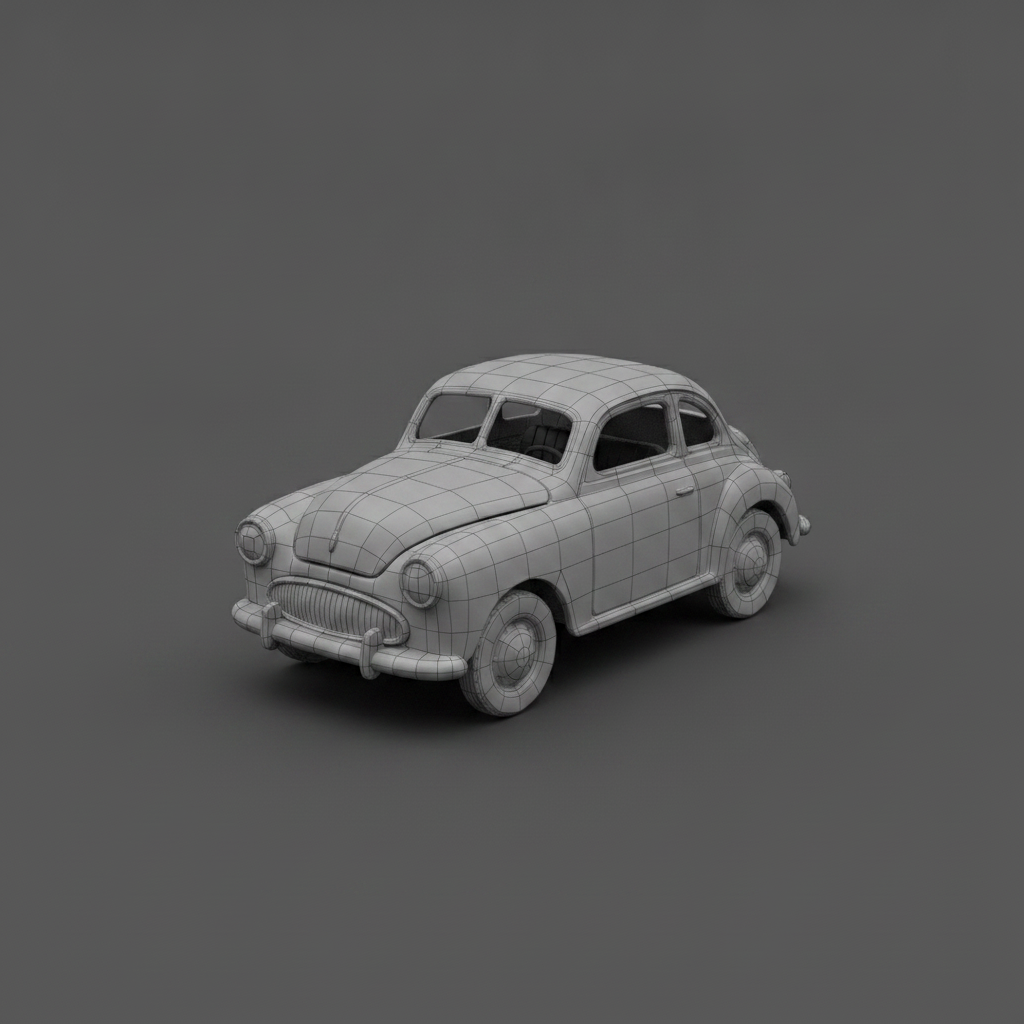 3D
3DToy car
Image → 3D model
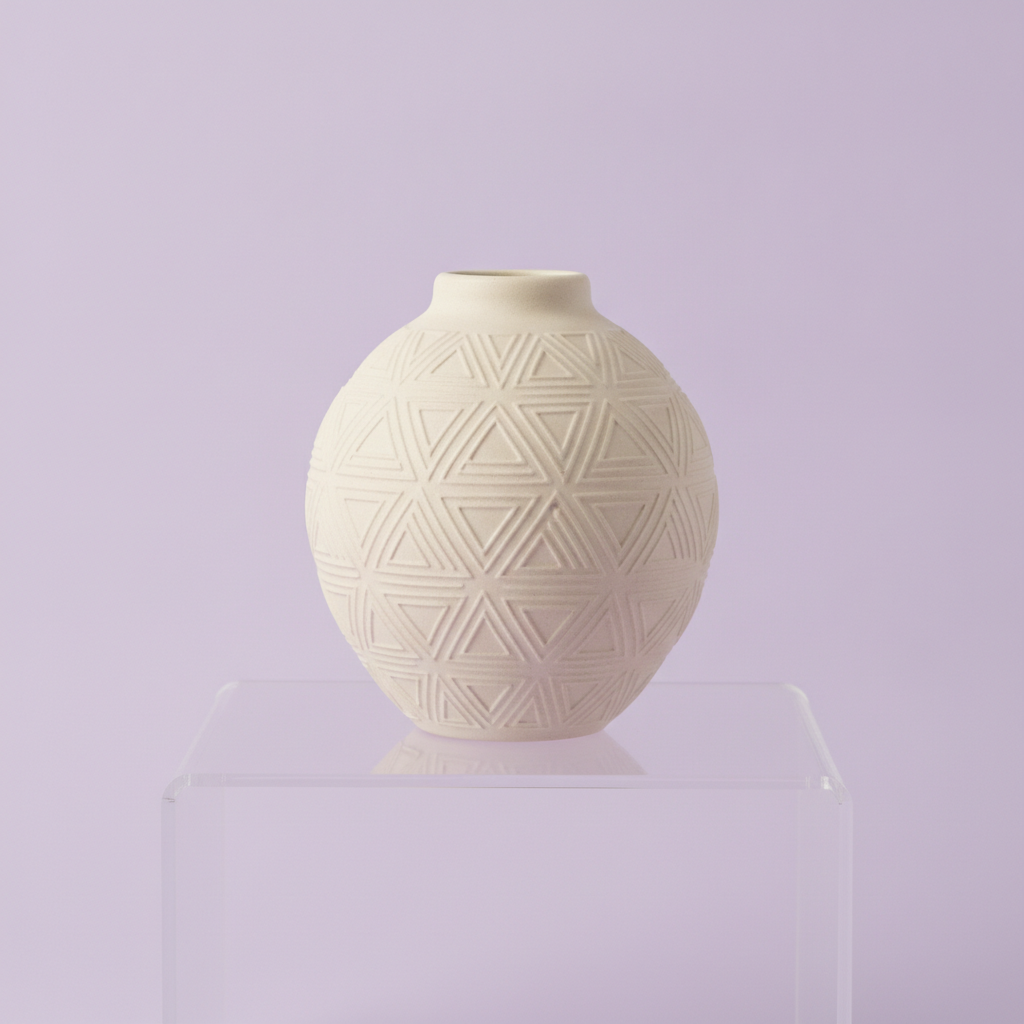 Input
Input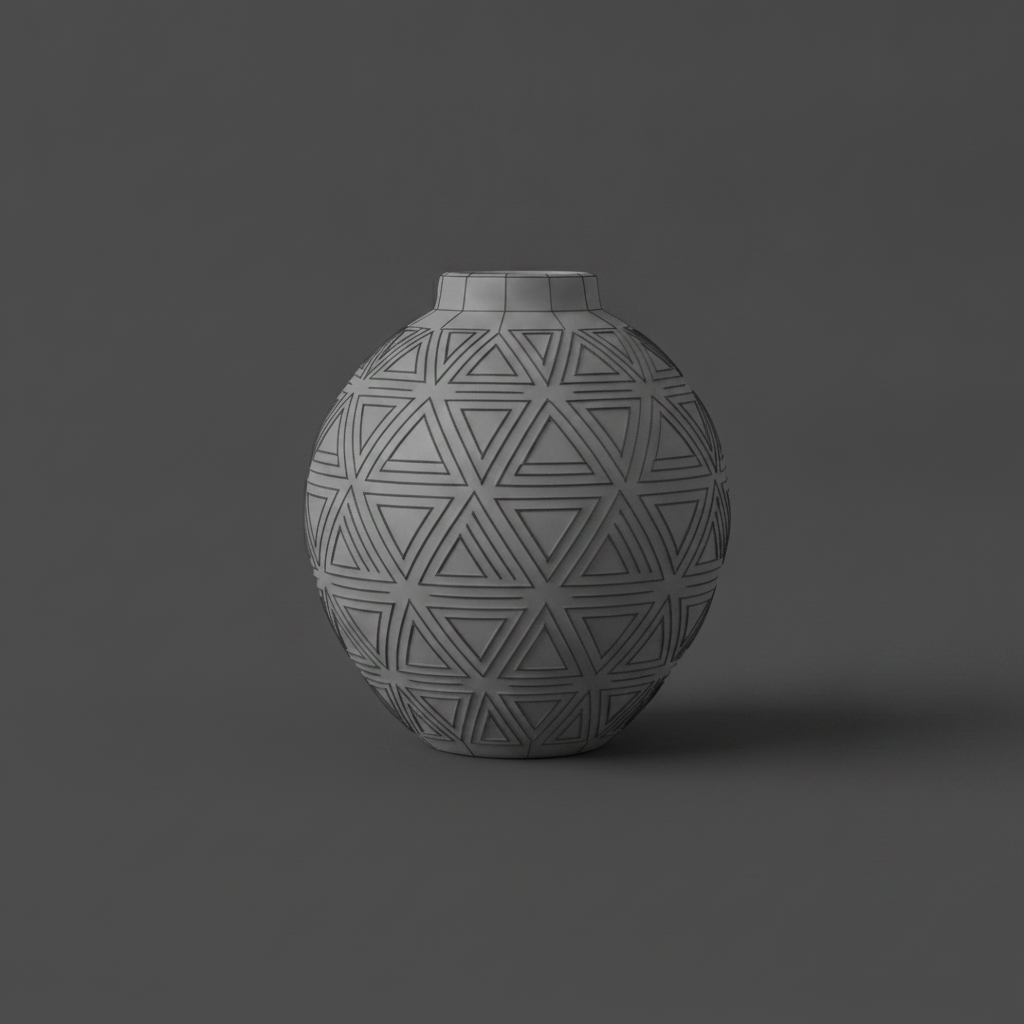 3D
3DDecorative vase
Image → 3D model
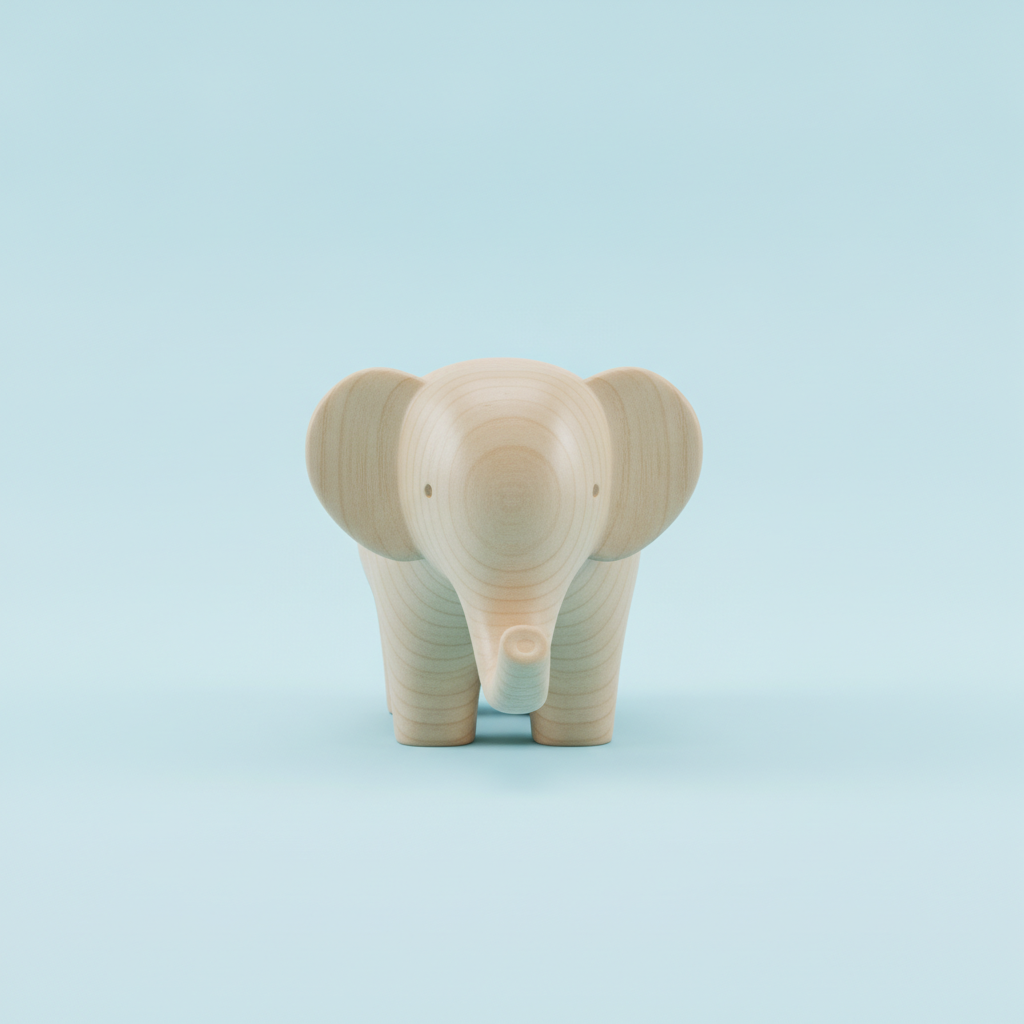 Input
Input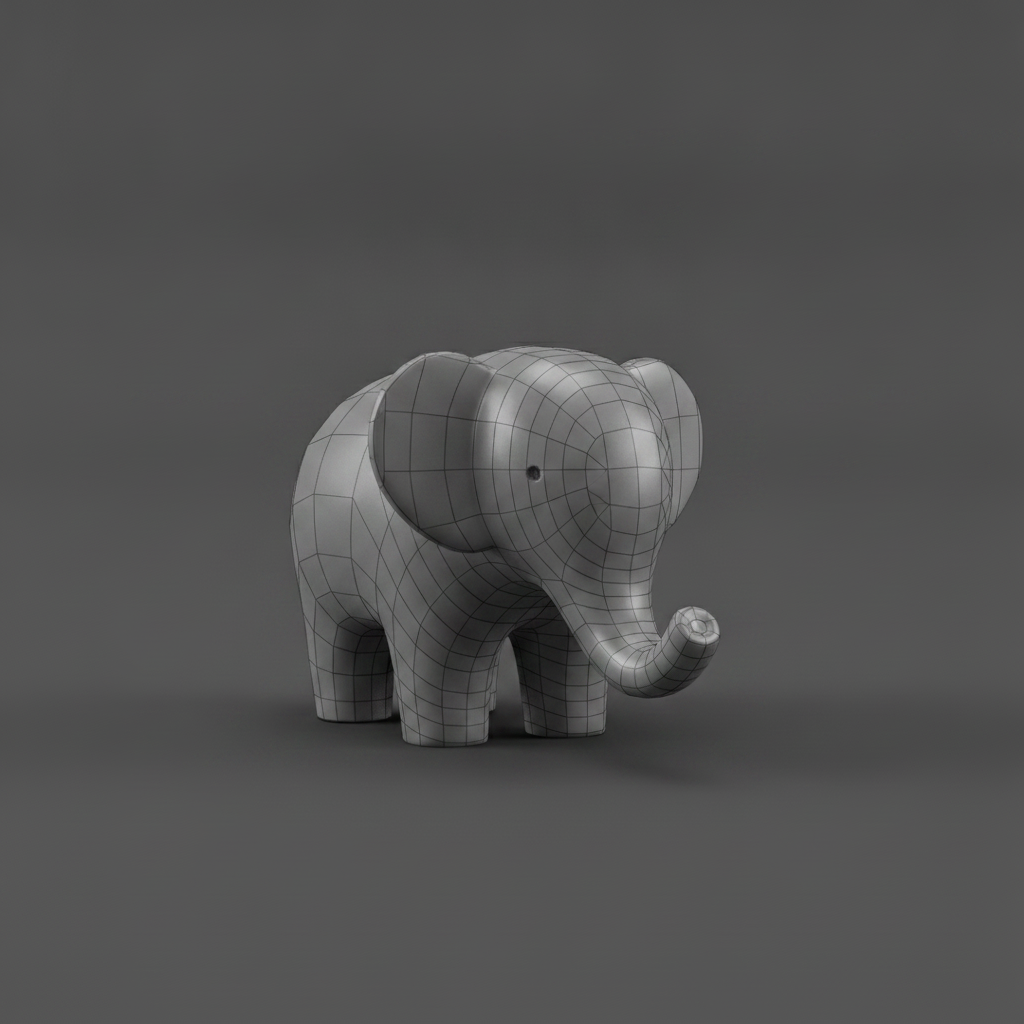 3D
3DStylized animal
Image → 3D model
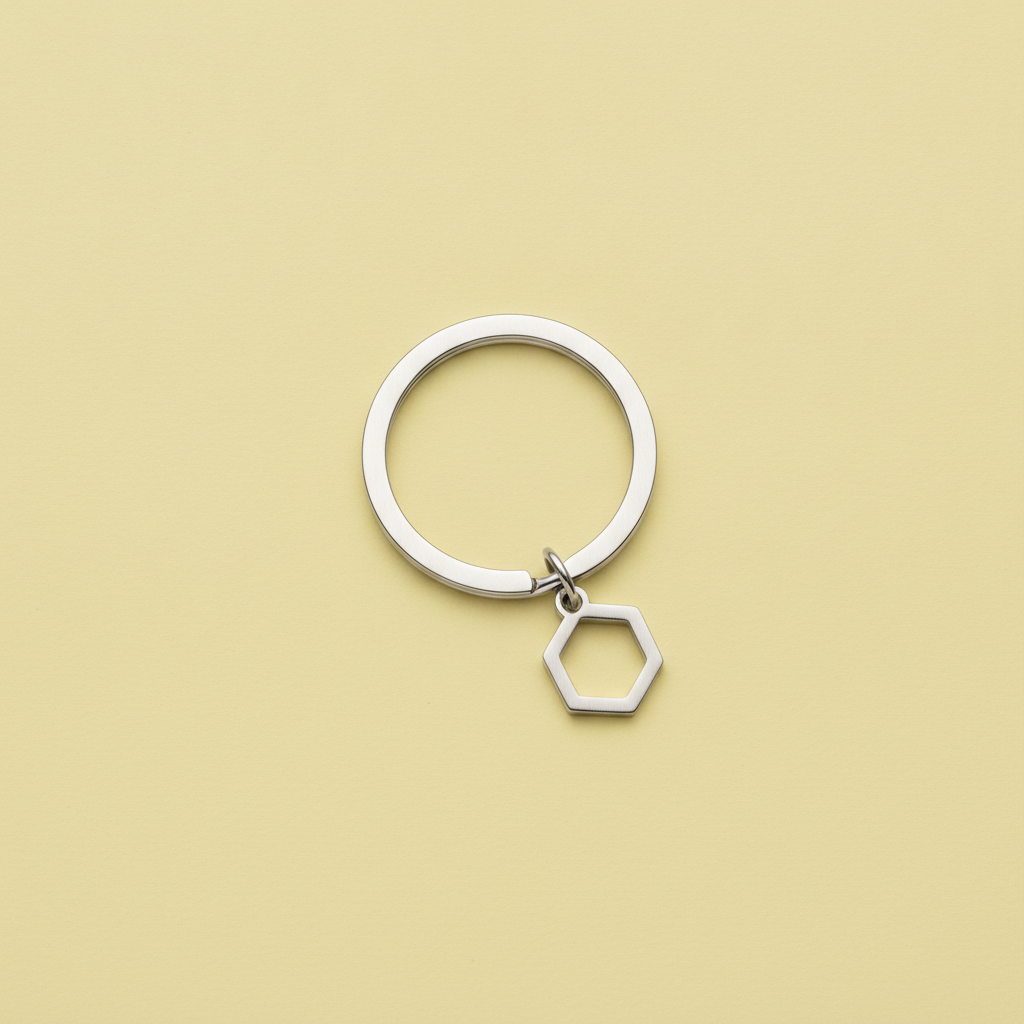 Input
Input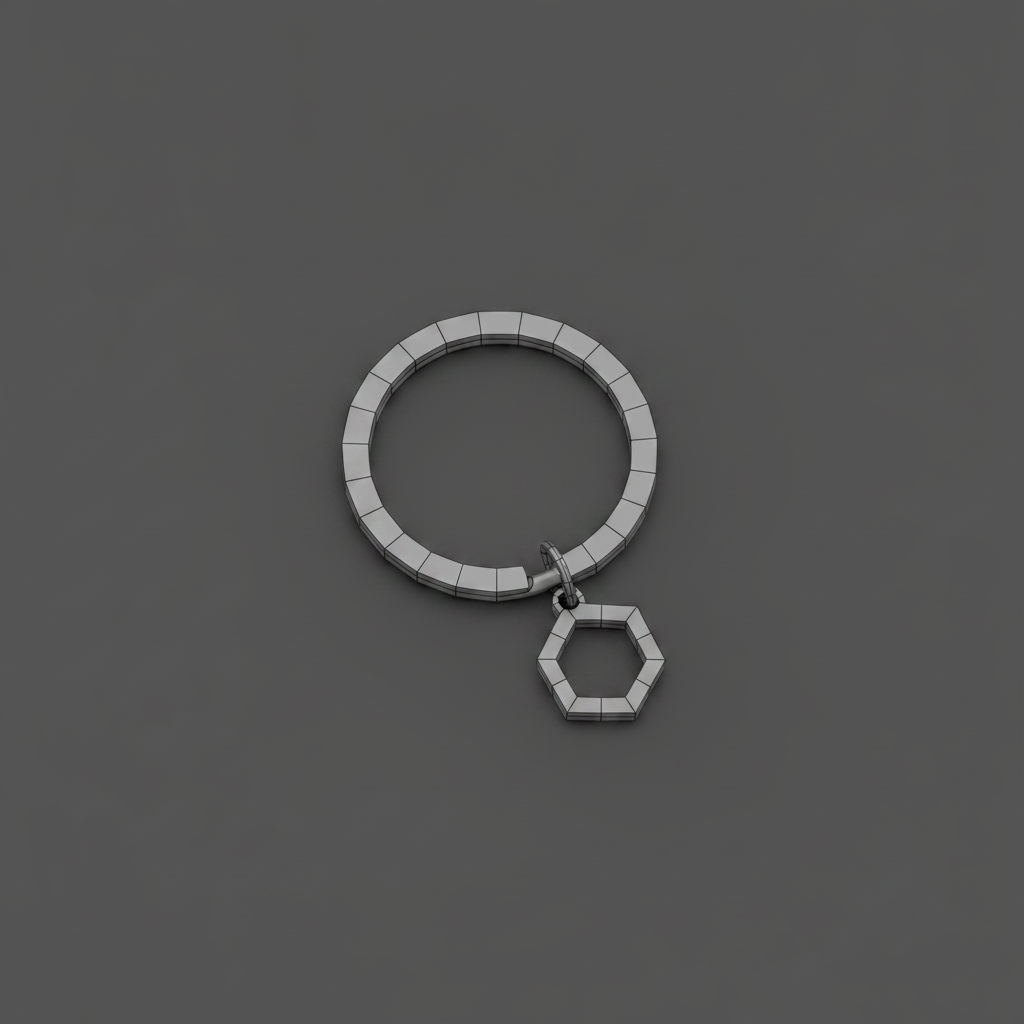 3D
3DSmall accessory
Image → 3D model
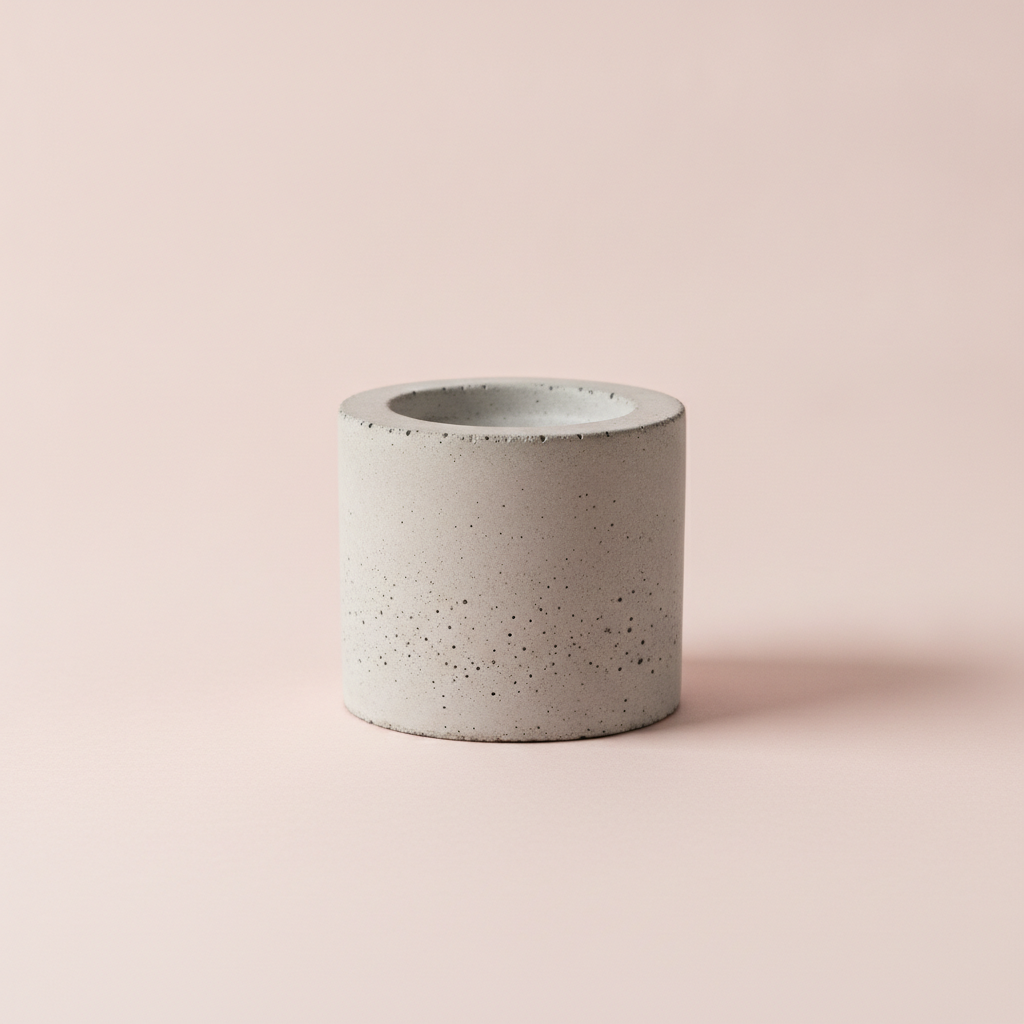 Input
Input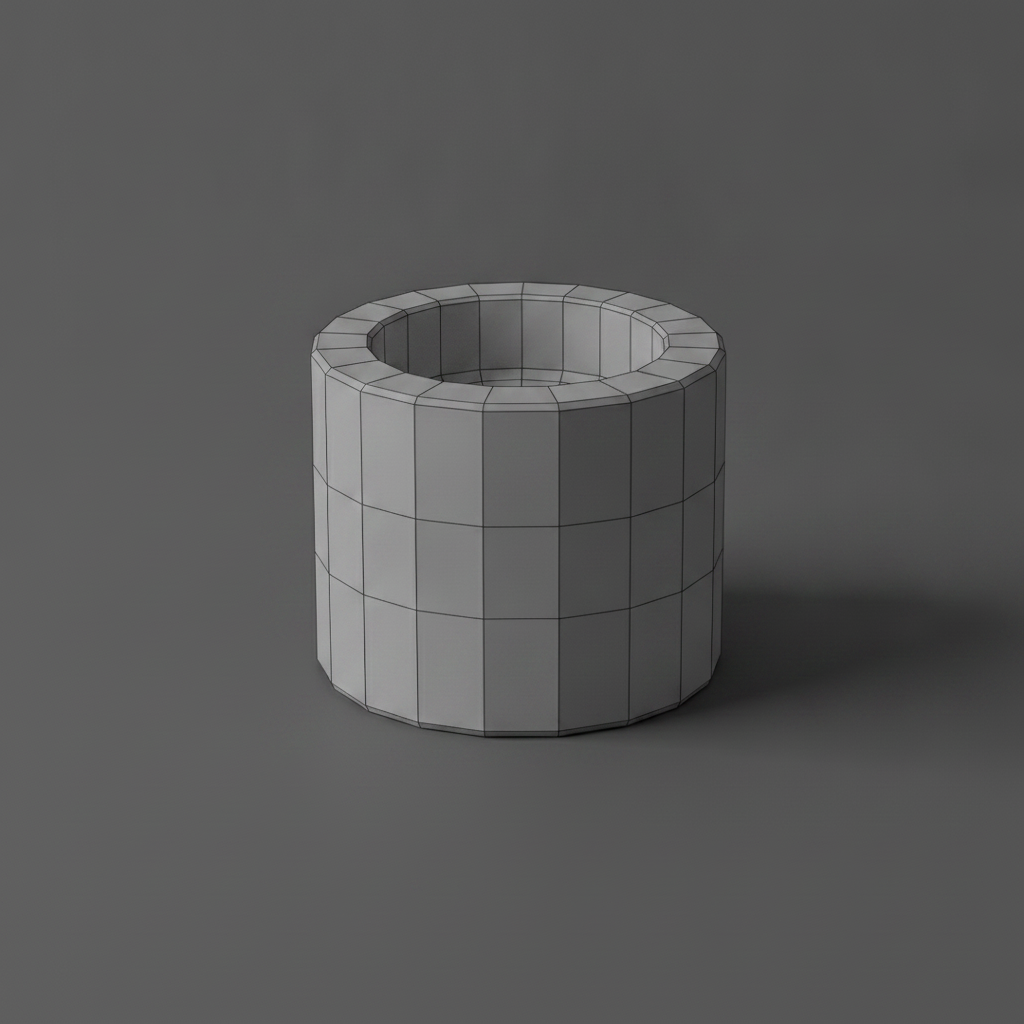 3D
3DHome decoration
Image → 3D model
Get notified when 3D generation is ready
We're building something great. Leave your email and we'll let you know as soon as you can start creating 3D models.
One email, then silence until launch.
From image to 3D print in three steps
Upload an image
Choose a clear image showing one object from a useful angle.
Generate and preview
The AI reconstructs a 3D mesh that you can inspect directly in your browser.
Export and slice
Download your model in standard formats and prepare it in your preferred slicer.
Built for 3D printing workflows
Start from an image
No need to learn Blender or sculpt a model from scratch. Just upload a clear photo of your object.
Preview before downloading
Rotate and inspect the generated model directly in your browser before exporting.
Made for 3D printing
Export in standard formats commonly used by slicers such as Cura, PrusaSlicer, OrcaSlicer or Bambu Studio.
Get a better 3D result
Use a single object
One object per image gives the best reconstruction.
Show the full object
Make sure the entire object is visible in the frame.
Simple background
A plain or contrasting background helps the AI isolate the object.
Avoid heavy shadows
Strong shadows can confuse the reconstruction.
Avoid transparent materials
Glass and highly reflective surfaces are difficult to reconstruct.
Avoid motion blur
Use a sharp, well-lit image for best results.
Prefer a three-quarter view
A slightly angled view gives more depth information.
The AI estimates the parts that are not visible in the source image. Results may differ from the real object.
Works with your usual 3D printing workflow
Export your model and continue in the slicer you already use.
Formats commonly used in 3D printing workflows.
Frequently asked questions
Images showing a single, clearly visible object with a simple or contrasting background work best. The object should be well-lit, sharp, and fully visible in the frame. A three-quarter view angle generally produces the best reconstruction because it shows more sides of the object.
Yes, you only need one image. The AI reconstructs the 3D shape based on visual cues in the image. However, parts that are not visible in the image are estimated, so the result may differ from the real object.
No, the hidden sides are estimated by the AI. The model is a visual reconstruction, not a metrological scan. The AI makes its best guess based on the visible parts, but the back and occluded areas will always be approximations.
You can download your model in GLB format for preview and standard 3D mesh formats for printing. The exact list depends on the current MVP capabilities — we aim to support STL, OBJ and GLB.
We recommend inspecting the model in your slicer first. Check the scale, orientation, wall thickness, and mesh integrity. You may need to add supports or make adjustments depending on your printer and material.
No. The goal is to let you go from an image to a printable model without any 3D modelling knowledge. That said, basic familiarity with a slicer is helpful for preparing the print.
Generation time depends on the image and server load. During early access, processing may take from a few seconds to a couple of minutes. We display progress so you know what's happening.
Yes. Your uploaded images are processed to generate the 3D model and are not shared publicly. Please refer to our Privacy policy for details.
You own the models you generate from your own images. For models generated from images you don't own the rights to, the usual copyright rules apply. Please refer to our Terms for details.
The generated models use standard mesh formats compatible with virtually all consumer 3D printers. You can slice them with Cura, PrusaSlicer, OrcaSlicer, Bambu Studio or any other slicer that reads STL or OBJ files.
Turn your next image into a 3D object
Upload an object image and generate your first model.
Create a 3D model